How to Add Teachers Using Schoolizer?
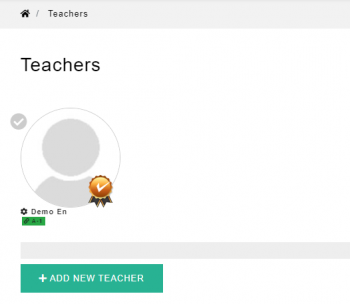
Schoolizer is a powerful tool that helps educational institutions manage their administrative tasks efficiently. Adding teachers to the system is a crucial step in ensuring smooth operations and effective communication within the school.
In this tutorial, we will guide you through the process of adding teachers to Schoolizer, step by step. By the end of this tutorial, you will be able to effortlessly add teachers to your Schoolizer account and streamline your school's administrative processes.
What is the Importance of Adding Teachers Using Schoolizer?
Adding teachers using Schoolizer is of utmost importance for several reasons:
- Schoolizer allows you to maintain a centralized database of teachers, making it easier to manage and access their information. By adding teachers to the system, you can keep track of their contact details, qualifications, and assigned subjects/classes in one place.
- By adding teachers to the system, you can easily share important announcements, updates, and notifications with them. This improves communication efficiency and ensures that teachers are well-informed about any changes or events happening within the school.
- Adding teachers to Schoolizer allows you to assign them specific subjects and classes. This enables you to create and manage timetables efficiently.
- Schoolizer helps in assigning students to specific teachers. By adding teachers to the system, you can easily allocate students to their respective teachers based on subjects or classes.
- Schoolizer provides valuable insights into teacher performance, attendance, and other relevant data. By adding teachers to the system, you can generate reports and analyze data to identify areas of improvement, track teacher attendance, and evaluate their overall performance.
Step 1: Log in to Schoolizer

1- Open your web browser and go to the Schoolizer website at https://schoolizer.com
2- Click on the "Start Now" button to register.
3- Enter your username and password to log in to your Schoolizer account.
4- To activate your account, go to your email and check the spam messages.
5- Press the auto-activation button found in the Schoolizer email to activate your account.
6- Change the provided password to make it your own and log in.
Step 2: Accessing the Teachers Page
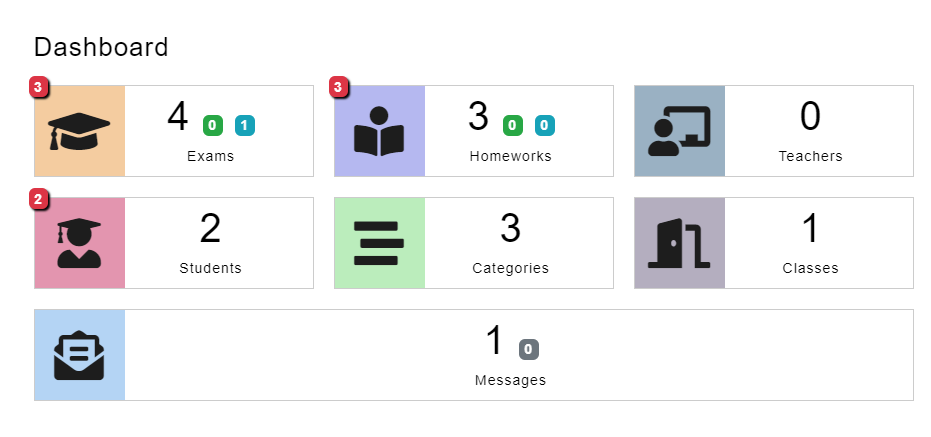
1- Once logged in, you’ll access the main dashboard where you can choose the function you need.
2- Navigate to the "Teachers" page by clicking the "Teachers" tab in the main menu.
Step 3: Navigate the Teachers Page
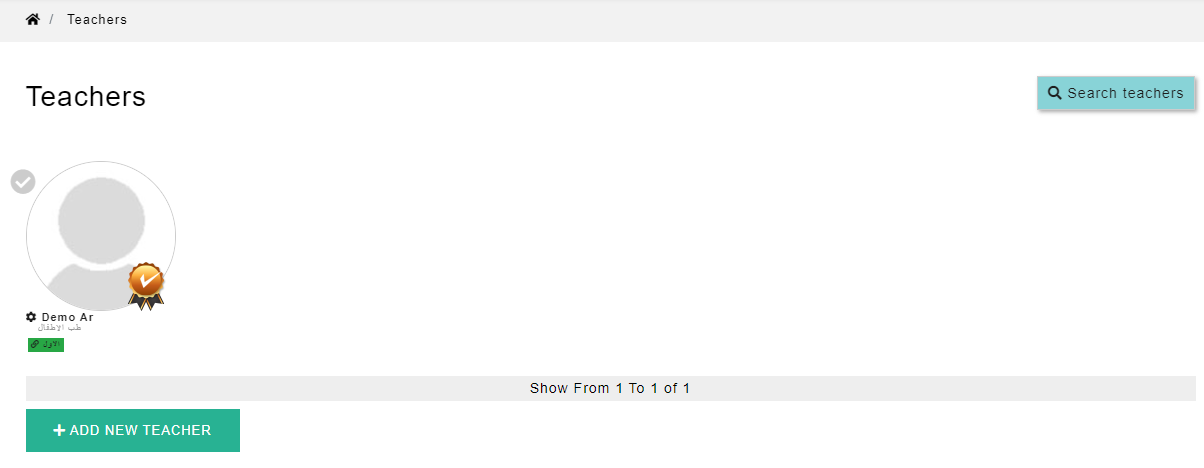
1- On the Teachers page, you can see all your teachers' profiles pictures and their assigned classes.
2- You will see an option to "Add New Teacher", click on it to proceed.
Step 4: Adding a New Teacher
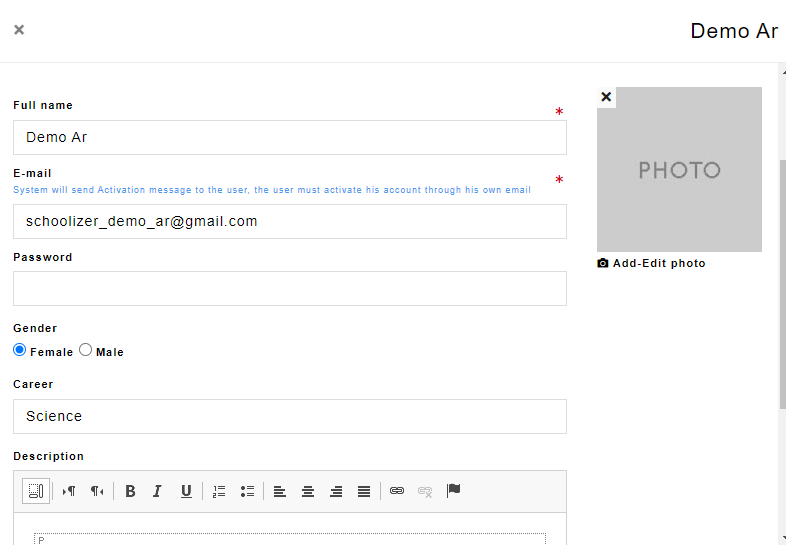
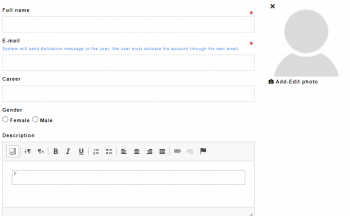
1- A form will appear where you can enter the details of the teacher you want to add.
2- Fill in the required information such as their name, email, career, gender, and description for any other relevant details.
3- Once you have entered all the required information, review the details to ensure accuracy and click on “Save” to add the student.
Step 5: Assign Teacher to a Class
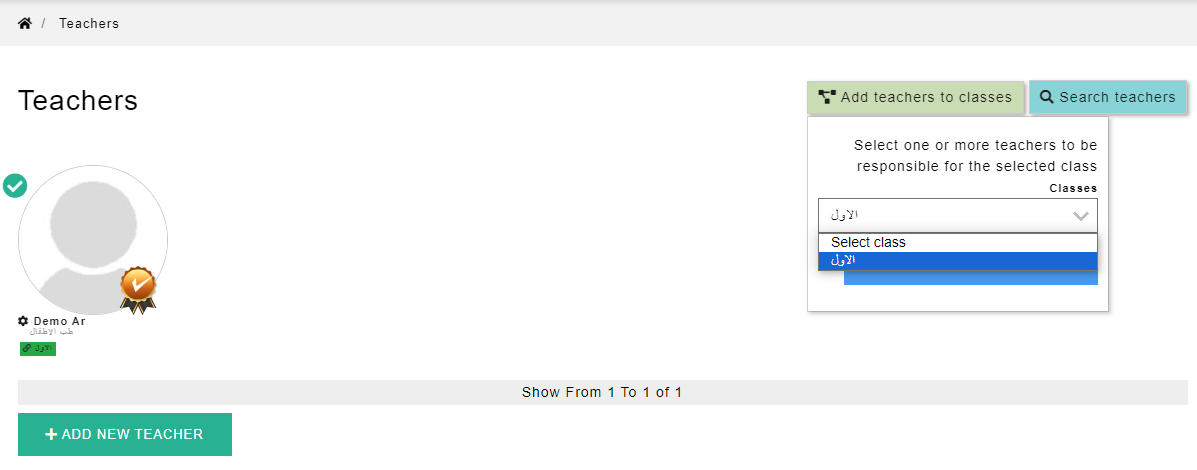
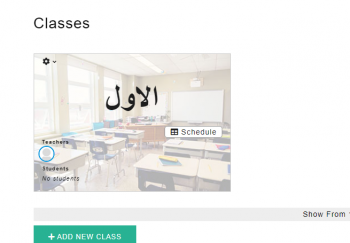
1- Once you have added all the teachers, you can assign each teacher to their class.
2- click the check mark on the teacher’s profile picture, then click “Add Teacher to Classes” in the upper right corner.
3- From the list of classes, select a class to add your teacher to, then press the “Add Teacher to Class” button.
In Conclusion
Congratulations! You have successfully learned how to add teachers using Schoolizer. By following the steps outlined in this tutorial, you can now easily add teachers to your Schoolizer account and ensure that your school's administrative tasks are well-organized.
Schoolizer provides a user-friendly interface that simplifies the process of managing teachers and their information. With Schoolizer, you can efficiently assign subjects and classes to teachers, making it easier to schedule and track their responsibilities.
By utilizing Schoolizer's features, you can enhance communication and collaboration within your educational institution. We hope this tutorial has been helpful, and we encourage you to explore more of Schoolizer's capabilities to optimize your school's administrative processes.

