How to Add Students to a Class Using Schoolizer?

Are you wondering how to organize your students? Do you need a platform to manage all your students and classes? This is the tutorial for you!
Welcome to this step-by-step tutorial on how to add students using Schoolizer! Schoolizer is a user-friendly platform that allows you to manage your students and classes efficiently.
By following this tutorial, you will learn how to easily add students to your Schoolizer account, ensuring that all their information is organized and accessible. Let's get started!
Why Should I Add Students Using Schoolizer?
There are several reasons why you should consider using Schoolizer to add students. Here are a few benefits:
- By using Schoolizer to add students, you can easily keep track of their details, such as names, contact information, and class assignments, making it convenient to access and update their information whenever needed.
- Schoolizer simplifies this process by providing a user-friendly interface and intuitive features that allow you to quickly enter student information.
- By adding students to Schoolizer, you can easily share important announcements, assignments, and grades with them. This fosters effective communication and ensures everyone stays informed and engaged in learning.
- This feature promotes collaboration among students, as they can easily access shared resources, participate in group discussions, and collaborate on projects.
- By using Schoolizer to add students, you can be confident that their information is stored securely and protected from unauthorized access.
Step 1: Log in to Schoolizer

1- Open your web browser and go to the Schoolizer website at https://schoolizer.com
2- Click on the "Start Now" button to register.
3- Enter your username and password to log in to your Schoolizer account.
4- To activate your account, go to your email and check the spam messages.
5- Press the auto-activation button found in the Schoolizer email to activate your account.
6- Change the provided password to make it your own and log in.
Step 2: Accessing the Students Page
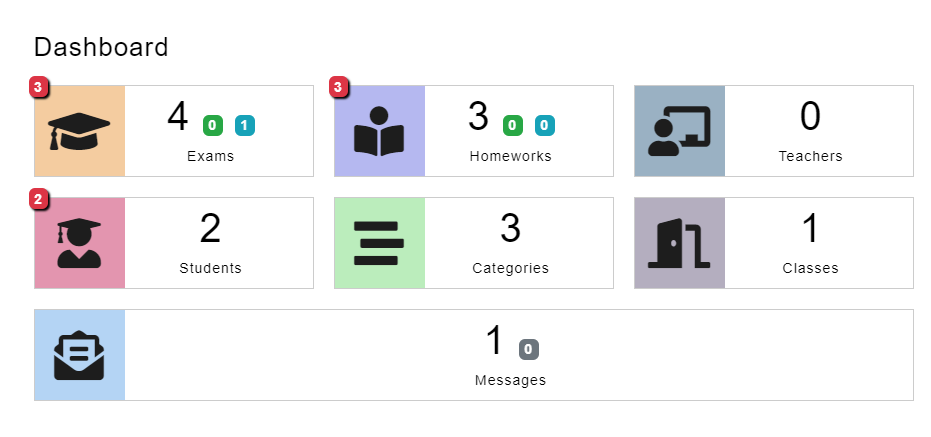
1- Once logged in, you’ll access the main dashboard where you can choose the function you need.
2- Navigate to the "Students" page by clicking the "Students" tab in the main menu.
Step 3: Navigate the Students Page
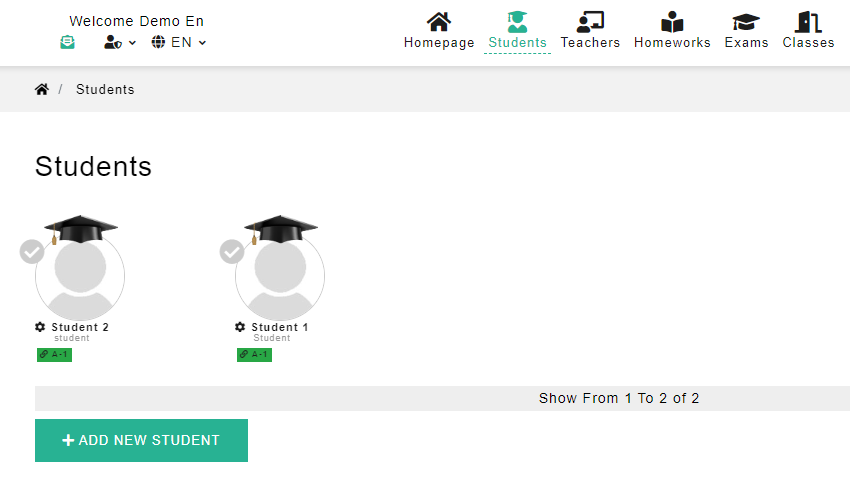
1- On the Students page, you can see all your students' profiles pictures and their assigned classes.
2- You will see an option to "Add New Student", click on it to proceed.
Step 4: Adding a New Student
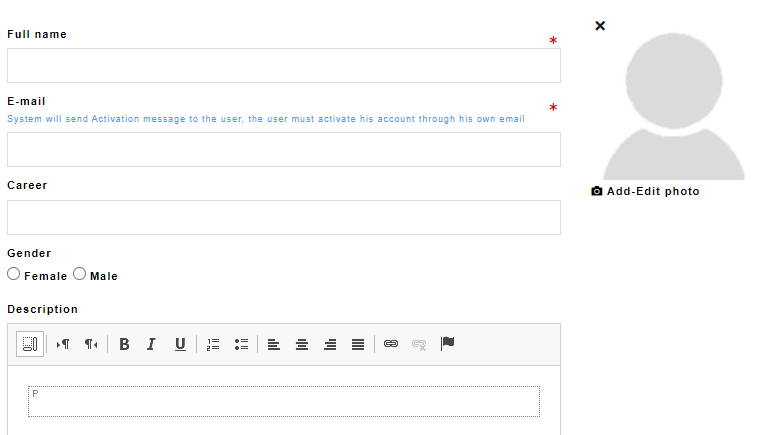
1- A form will appear where you can enter the details of the student you want to add.
2- Fill in the required information such as their name, email, career, gender, and description for any other relevant details.
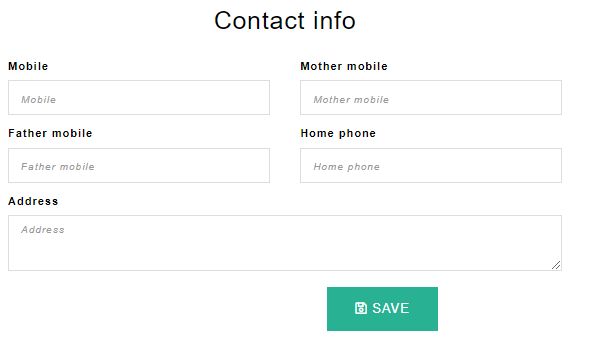
3- Fill the contact info, such as the student’s mobile number, mother’s number, father’s number, home number, and home address.
4- Once you have entered all the required information, review the details to ensure accuracy and click on “Save” to add the student.
Step 4: Assign Students to a Class

1- Once you have added all the students, you can assign each student to their class.
2- click the check mark on the student’s profile picture, then click “Add Students to Classes” in the upper right corner.
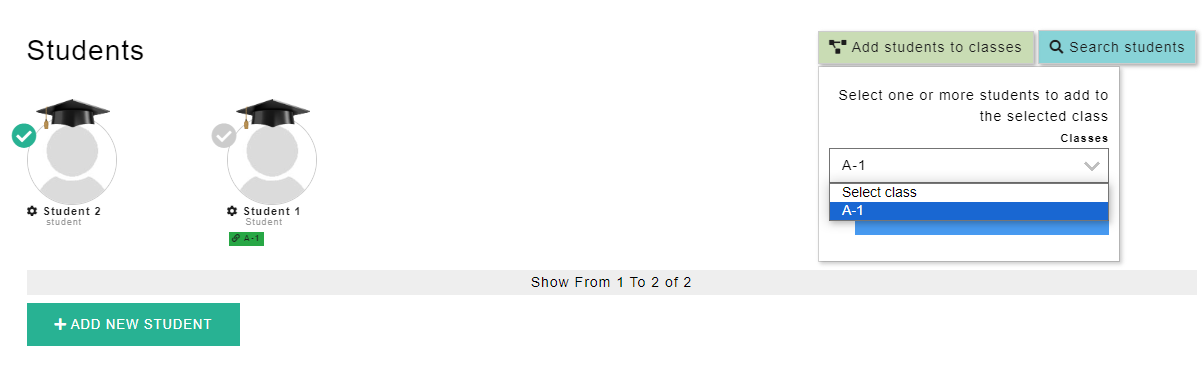
3- From the list of classes, select a class to add your student to, then press the “Add Student to Class” button.
Step 5: Review the Information
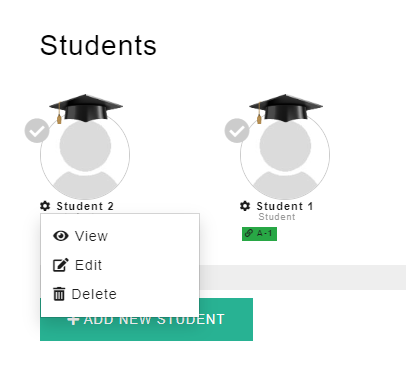
1- Click on the setting symbol next to the student’s profile picture.
2- You can “view”, “edit”, or “delete” the student’s information by clicking the respective buttons.
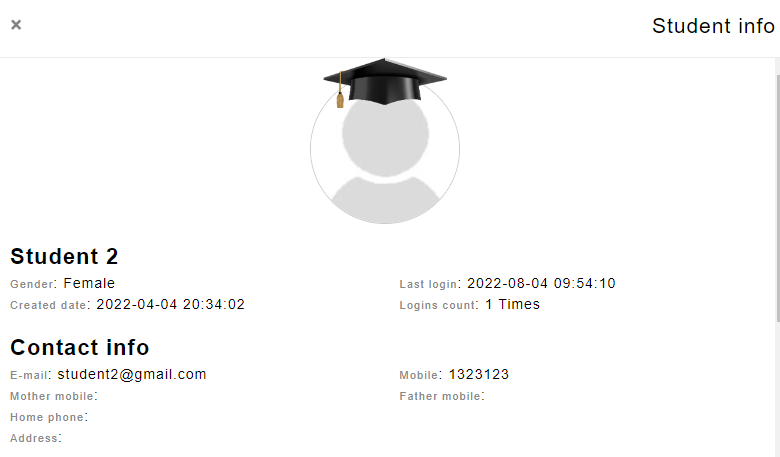
3- By clicking “view”, you can view the student’s profile information, contact info, exams, homework, and classes.
In Conclusion:
Congratulations! You have successfully learned how to add students using Schoolizer. By following the simple steps outlined in this tutorial, you can now effortlessly add students to your Schoolizer account, keeping all their information in one place.
This will help you streamline your administrative tasks and ensure smooth communication with your students. Remember, Schoolizer offers many other useful features to enhance your educational experience, so feel free to explore and make the most of this powerful platform.
Happy organizing!
Related articles


