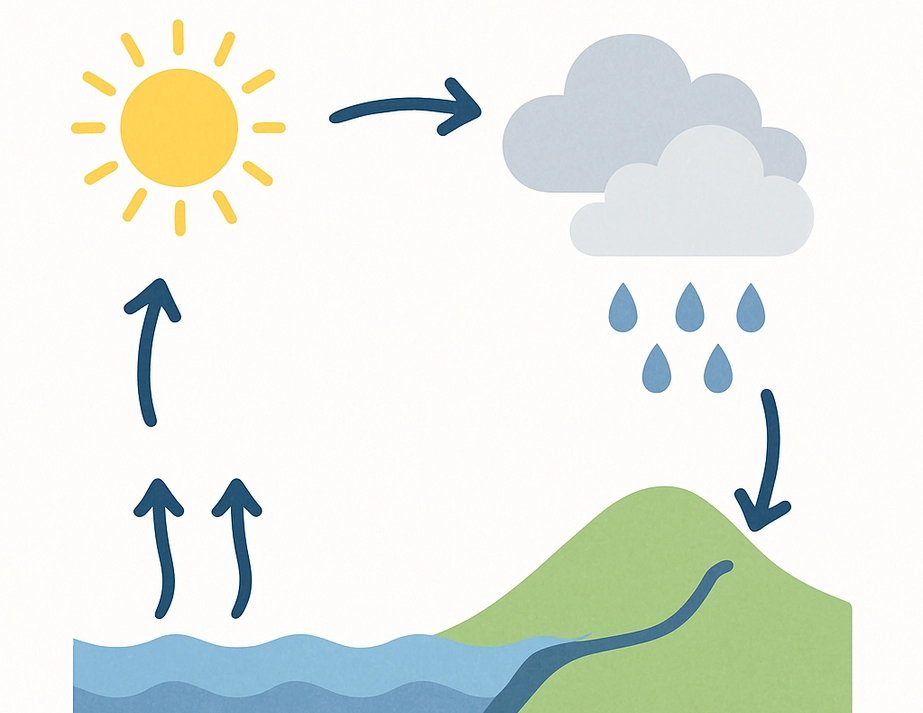
A water-cycle-in-a-bag experiment gives students a small model they can watch over time. Water in a sealed clear bag can evaporate from the liquid, condense as droplets on a cooler surface and collect again. The activity makes phase changes visible, but it does not reproduce every part of Earth’s water cycle: it has no ocean, soil infiltration, groundwater flow or large-scale weather. Present it as a model of selected processes and invite learners to compare the model with the real cycle.
Learning goals
By the end, students should be able to use the words evaporation, condensation and collection in a sequence; describe evidence they actually observed; and explain one way the sealed bag is similar to and different from Earth. The emphasis is careful observation rather than waiting for a dramatic result. Depending on classroom conditions, visible droplets may take hours to appear. A class can record a baseline, leave the bag in a safe bright place and revisit it later or on the next day.
Materials and safety
Use one clear resealable plastic bag per group, a small measured amount of water, a washable marker and tape. A drop of food colouring can make the liquid easier to see but is optional. An adult should add water and attach the bag to a window or board away from doors, heaters and electrical equipment. Seal the bag firmly and check for leaks before hanging it. Do not fill it heavily, place it above valuable equipment, or ask children to taste the water. Follow school rules for windows and small materials.
Set up the investigation
Draw a sun near the top of the bag and a water line at the bottom. Add a small amount of water, close the seal and tape the bag upright where it receives indirect daylight. Avoid strong direct heat that could make the plastic hot or stress the seal. Ask students to sketch the initial condition and note the time, approximate room conditions and water level. If you have enough materials, prepare a comparison bag kept in a shaded location. Change only the light exposure so that students can discuss a fair test.
Observe, do not guess
At each check, look for changes in the liquid level, tiny droplets on the inside of the bag, larger droplets joining and water moving back down. Students should write what they see before naming a process. Water vapour itself is invisible; the droplets are liquid water that formed when vapour cooled and condensed. A drop on the outside may come from room humidity or handling, so mark which side of the plastic holds the observed moisture. If little changes, record that result instead of inventing one.
Student observation table
| Check | Time | What is visible inside? | Where are droplets? | Evidence-based explanation |
|---|---|---|---|---|
| Start | Record | Describe the liquid and empty space | Note whether any are present | Baseline before observation |
| Later | Record | Look for droplets or changes in level | Inside, outside or not visible | Connect only visible evidence to a process |
| Next lesson | Record | Compare with the first sketch | Note any movement downward | Describe what changed and what did not |
Questions that deepen the model
- What evidence suggests some liquid water changed into water vapour?
- Why might droplets form on a cooler part of the bag?
- What does the sealed bag leave out about clouds, rain, rivers or groundwater?
- What would you keep the same in a shaded-versus-lit comparison?
- What observation would make you revise your first explanation?
Teacher notes and troubleshooting
Warm rooms, sunlight, water amount, bag material and time all affect what students see. There is no guaranteed time for droplets to form. Do not describe the bag as a miniature weather system or claim it demonstrates precipitation in the same way as a cloud. The bag can show a local loop of evaporation and condensation; water that collects and runs down is an observable return to the liquid pool. Explain that a real global cycle also moves water through land, living things, ice and the atmosphere over different timescales.
If the bag leaks, replace it over a tray and check the seal. If no droplets appear, compare the temperature and light conditions, extend observation time and use the result to discuss limits of a classroom model. For younger learners, draw arrows only after students have described evidence. Older students can plan repeated trials, keep water amount constant and record temperatures without touching or opening the bag.
Assessment and extension
Ask each learner to label a sketch with the water’s state at two points and write a claim supported by one observation. A strong response distinguishes invisible vapour from visible liquid droplets, and names at least one process missing from the bag model. Extend the lesson by comparing a shaded bag with a bright but safe location, then discuss why one comparison does not prove every cause. Students may make a model diagram showing where oceans, land, clouds and groundwater belong beyond the bag.
This simple activity works best when the class treats it as an investigation: make a prediction, record the starting condition, observe at set times, and explain only what the evidence supports. The bag offers a memorable window into water changing state while giving students practice with scientific language, fair comparisons and the limits of models.