Learning goal and materials
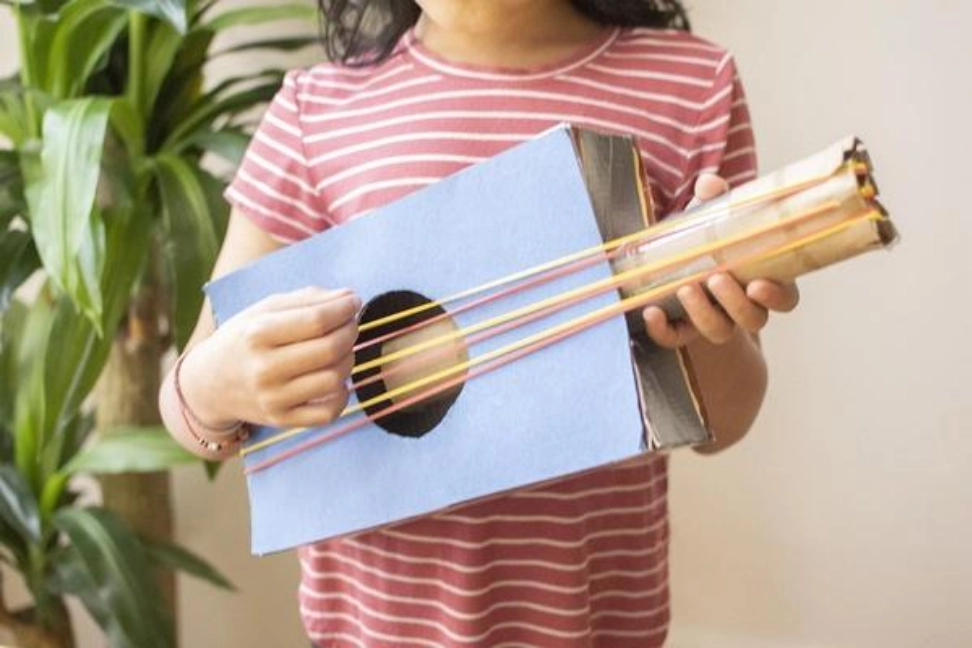
Students observe that a plucked stretched band vibrates and produces sound, then compare one change at a time. Prepare a small empty box or sturdy paper cup, two or three wide rubber bands of different thicknesses, a ruler, observation sheet and pencil. Use a music instrument only as an optional comparison. The cover photo shows a guitar lesson as an illustration; it is not a picture of the classroom model.
Set a safe boundary
An adult should inspect the bands and container first. Do not use brittle, cracked or very tight bands. Keep the instrument on a table, point it away from faces and eyes, and pluck gently with one finger. Do not stretch a band toward another person, wrap it around a finger or pull it close to the face. A student who prefers not to touch the band can observe or record.
Make the simple instrument
Place a clean empty box or cup on a stable surface. Stretch one band around it so part of the band crosses the opening. The container can help make the sound easier to hear, but the vibrating band is the sound source in this model. If several bands are used, set them parallel without touching. Ask students to look closely at the band immediately after a gentle pluck.
Investigation A: observe vibration
Pluck the band once and watch the section that moves. Record what the eyes see and what the ears hear. Repeat with the same band and a similarly gentle pluck. The expected observation is rapid back-and-forth movement that is hard to see clearly, together with a sound. Touch the band only after it has stopped; students should not try to catch a moving band.
Investigation B: change the vibrating length
Keep the same band and container. A teacher can gently press the band down at a safe point to shorten the free vibrating section, then pluck softly in the same way. Compare the sound with the longer free section. A shorter vibrating length generally produces a higher pitch in a stretched string, while the exact sound also depends on tension and the material. Do not change several features at once.
Investigation C: compare thickness carefully
If the class uses bands of different thickness, keep the exposed length and plucking method as similar as possible. Ask learners to describe which sound seems higher or lower rather than claiming a precise measurement. Bands can differ in material and tension as well as thickness, so this comparison is an observation, not a controlled proof of a single cause. Let students state what they kept the same and what changed.
Student record table
Use four columns: “Trial”, “What changed?”, “What stayed the same?” and “What did I notice about the sound or movement?” Example rows: same band, first gentle pluck; same band with a shorter vibrating section; a thicker band with similar exposed length. Students can draw the moving band, mark a higher/lower pitch with words, and note if the sound was louder or softer. Avoid numerical claims when no measuring tool was used.
Worked example and answer guide
A useful response is: “The band moved quickly after I plucked it, and I heard a sound. When the free section was shorter, the note sounded higher to me.” Accept different descriptions of pitch if students compare consistently. If a learner says the box makes the vibration, ask what was moving just after the pluck. If the sound changes after a harder pluck, point out that the plucking force changed, so it is not a fair comparison of length.
Explain what the model can show
Sound is associated with vibrating matter; this small model lets learners connect an observed moving band with a sound they hear. The box may make the sound easier to hear by coupling with the vibration, but students need not memorize an advanced acoustics explanation. The exercise does not measure frequency, prove a full theory of musical instruments or show that all bands have the same pitch.
Common misconceptions to check
A band that looks still may be moving too quickly for the eye to resolve. Ask students to compare what they saw immediately after plucking and what happened after the band stopped. The container is not a source of energy that keeps the band moving. A louder sound is not automatically a higher note. If students change length, tension and plucking force together, repeat with only one planned change.
Adapt for different learners
For a whole-class demonstration, use one larger container and invite students to predict before the teacher plucks. For pairs, assign a plucker and an observer, then switch roles. Offer picture-based recording, a word bank such as vibrate, pitch, louder and softer, or an oral explanation. Students with sound sensitivity may watch from farther away or use a silent drawing task. Do not require anyone to handle elastic.
Extension and exit ticket
For an extension, ask learners to compare the band with a guitar string in a photograph or a real instrument demonstrated by an adult. Keep the comparison descriptive and avoid claiming the classroom model behaves exactly like a tuned guitar. Exit ticket: “What moved to make the sound? Name one thing you changed and one thing you kept the same. What would you test next?” Collect answers to plan a follow-up lesson on sound sources.
Teacher notes and sources
This original classroom activity is informed by the basic sound-vibration concept and by public education resources that demonstrate rubber-band sound investigations, including PBS Kids’ Rubber Band Sound Jam and Teach Starter’s sound-energy project, updated 6 April 2026. Adapt the activity to local curriculum and classroom safety rules. The material is a teaching aid, not a claim about a prescribed grade standard or a substitute for a teacher’s judgement.
Connect the lesson to Schoolizer
A teacher can assign the observation table as homework, ask students to upload a drawing or short explanation, and use an exit ticket to spot who needs another example. Schoolizer’s public site describes teacher tools for classes, exams and homework. Use the class’s normal privacy and submission settings; do not ask children to publish personal contact details with their answers.